
Build | Rustic Industrial TV Stand
Introduction
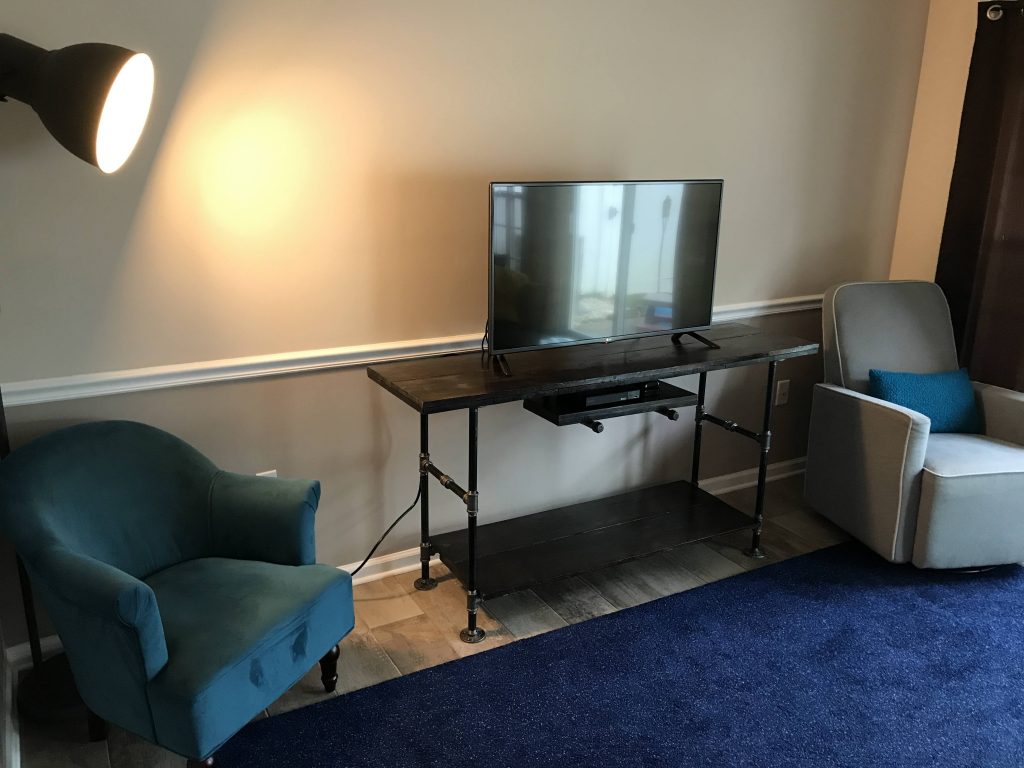
It took some time in our marriage for my wife and I to reconcile our very different design preferences. I love modern, sleek, and minimalist while she prefers a more sophisticated colonial-style home. We eventually fell into “rustic industrial” as a healthy blend of the two.
We needed a new TV stand to keep the kids from touching the screen. I dug around on Pinterest, and I found a design we liked, which served as a great foundation, but it was missing a lot (bill of materials, step-by-step instructions, etc.). I had fun reverse-engineering the project, and I altered a considerable amount in the process. I’m sharing it for anyone interested. I give credit to the original designers—Rose Lemke and her husband—for the inspiration.
Dimensions
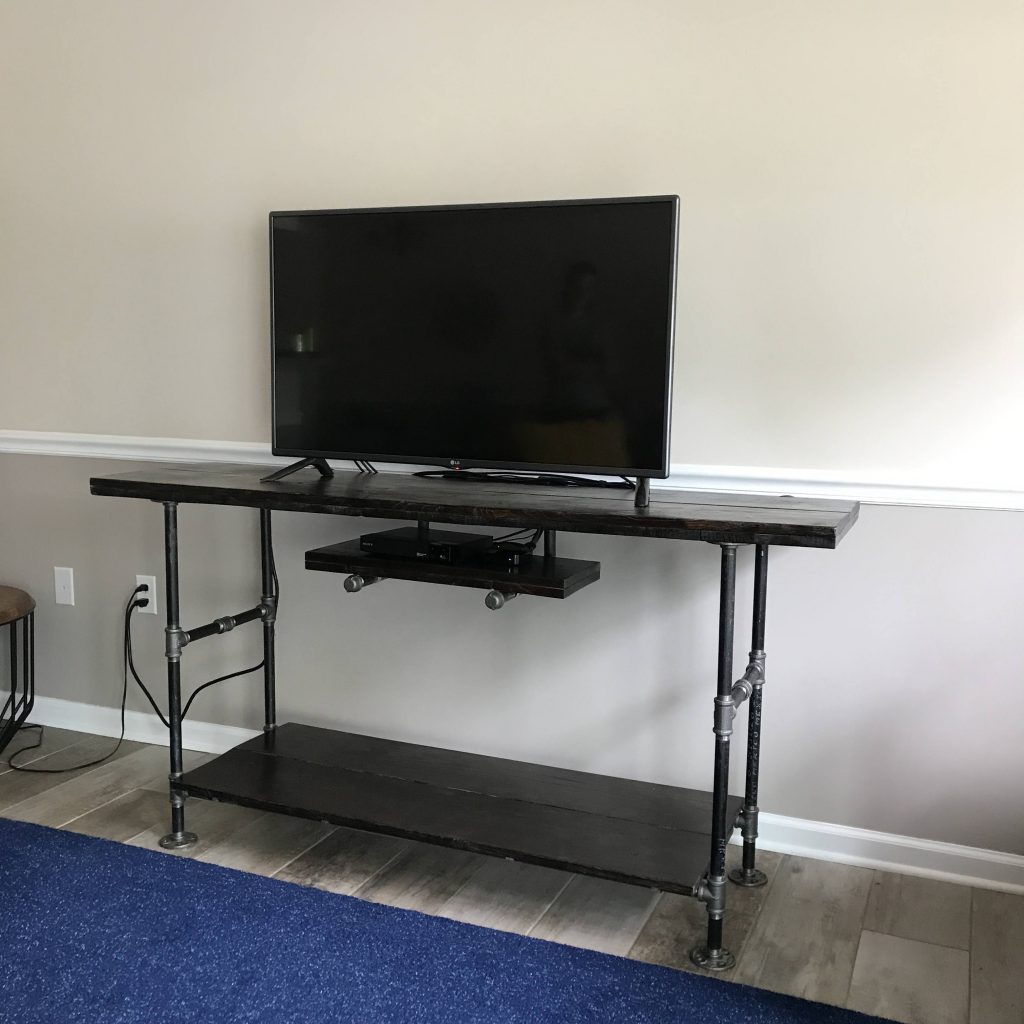
- Entire Unit
- Height: 33 ¾”
- Width: 65”
- Depth: 17 ⅞”
- Upper Shelf
- Height: 1 ½”
- Width: 65”
- Depth: 17 ⅞”
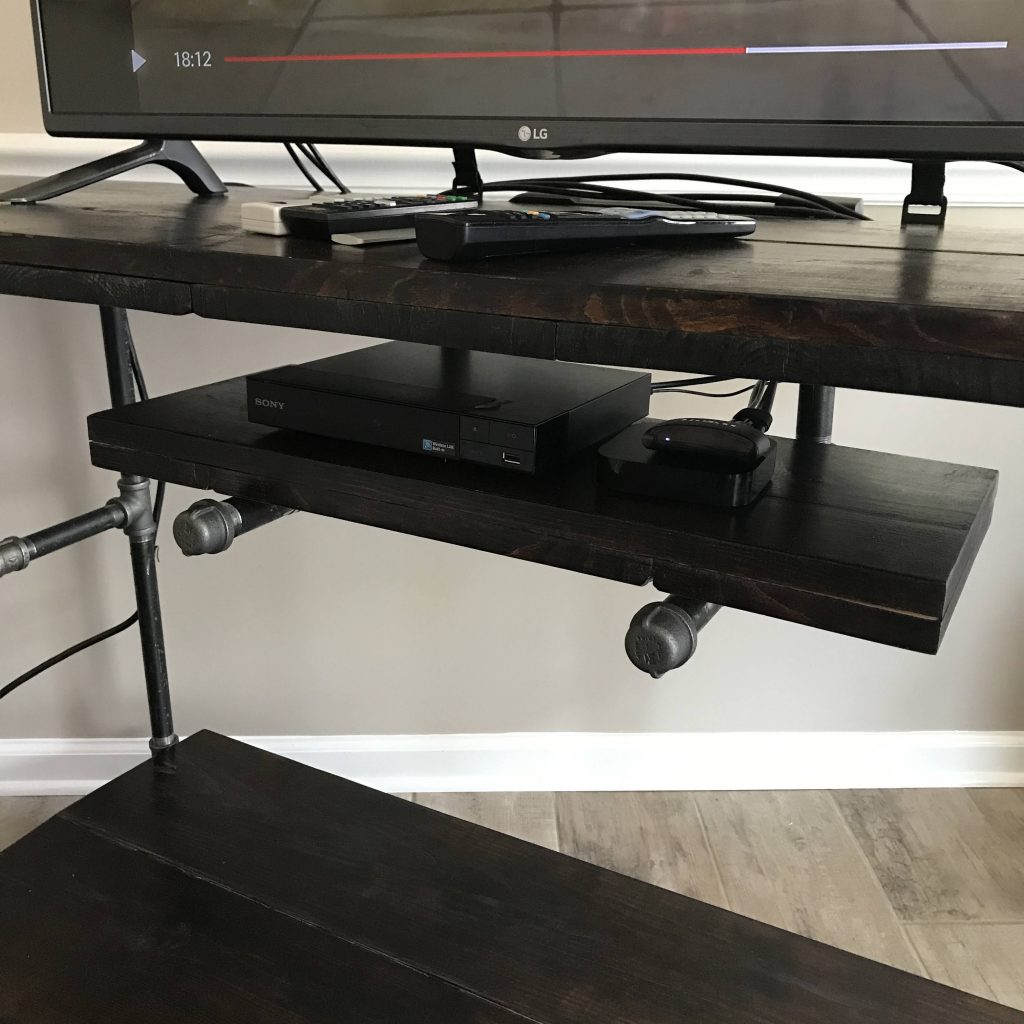
- Media Shelf
- Height: 1 ½”
- Width: 23 ¾”
- Depth: 9 ¼”
- Clearance:
- 4″ from top of media shelf to bottom of upper shelf
- 18 ¾” from media shelf piping to top of lower shelf
- Lower Shelf
- Height: 1 ½” (kinda)
- Width: 18 ⅜”
- Depth: 48”
- Clearance:
- 5 ⅛” from bottom of shelf to floor
- 20” from top of lower shelf to bottom of media shelf
Bill of Materials
See my Google Sheet.
Tools
Note: Not all of these are required. I’m slowly building my tool collection knowing that my next project is building a dining room table and bench and that we’re saving for a fixer-upper, so the tools will get used anyways. Feel free to substitute other tools or get creative with what you have!
- Electric sander
- 2X Sawhorse
- Circular saw
- Miter saw
- Hand plane
- Caulking gun
- T-square
- Quick square
- Lumber crayon
- Carpenter pencil
- Carpenter pencil sharpener ($3.98)
- 2X 36” bar clamp
- Safety glasses ($6.97)
- Mechanix gloves
Instructions
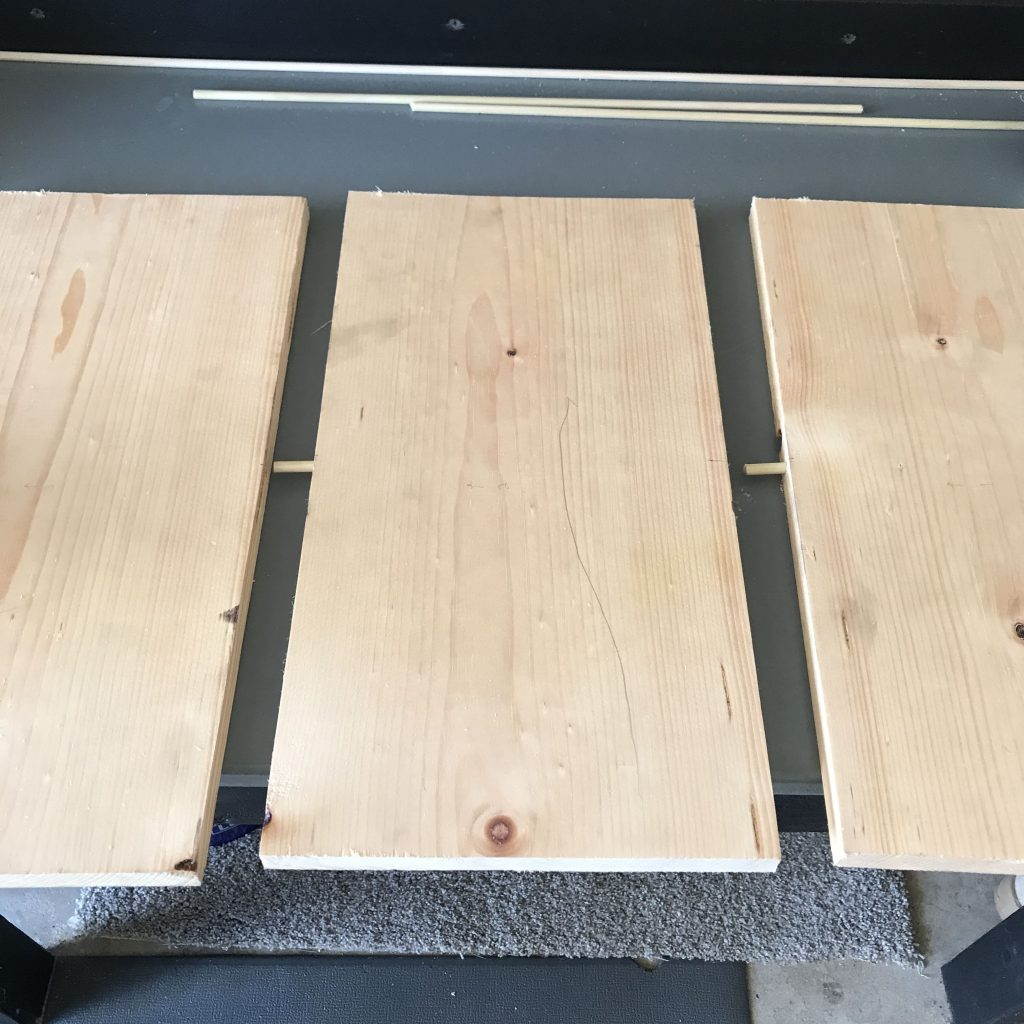
Upper Shelf
- Drill 3X holes for the the pegs (⌀¼”, 1”-deep hole) spaced 6″ from the ends and one centered.
Note: I had to cut both ends shorter for size, so I would bring those pegs in to about 12″ from the ends.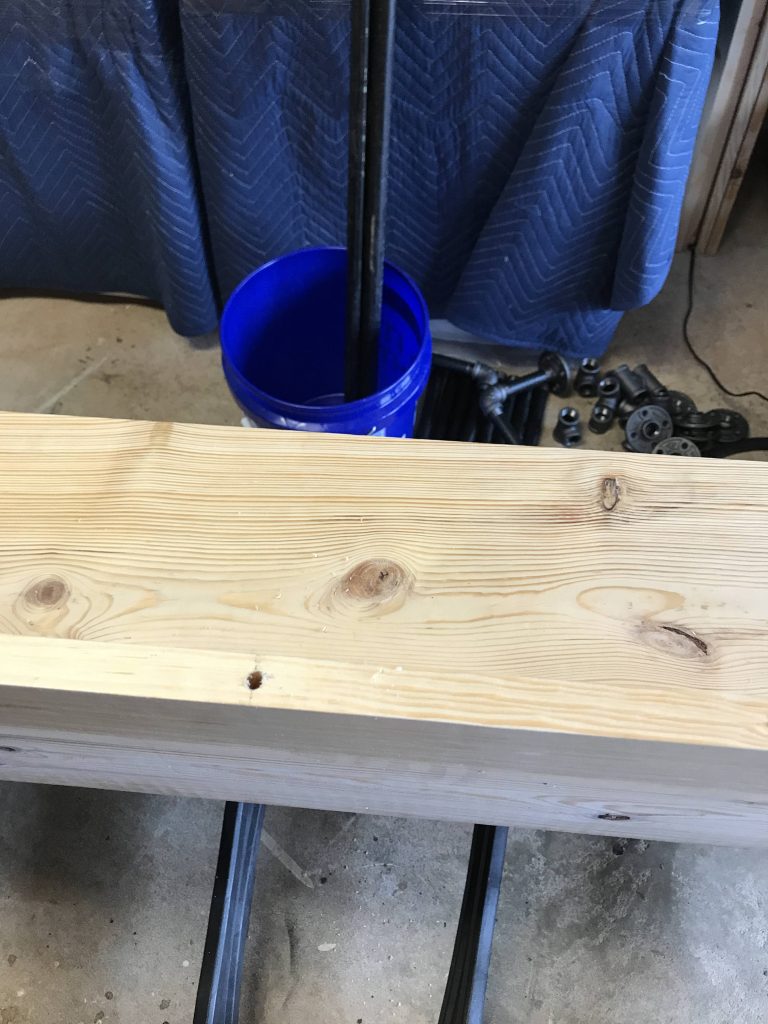
- Insert pegs, add Liquid Nails, and tap together with a rubber mallet.
Note: While I had a few pegs laying around, I also had to make some. Simply cut a ⌀¼” dowel into 2″-long pieces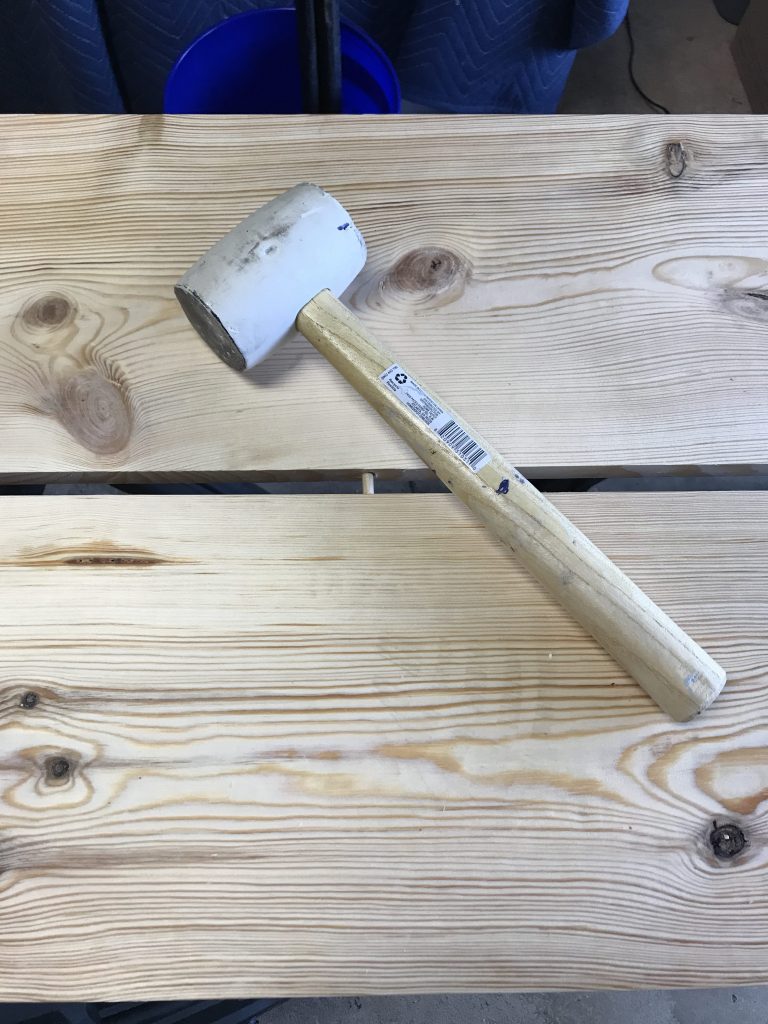
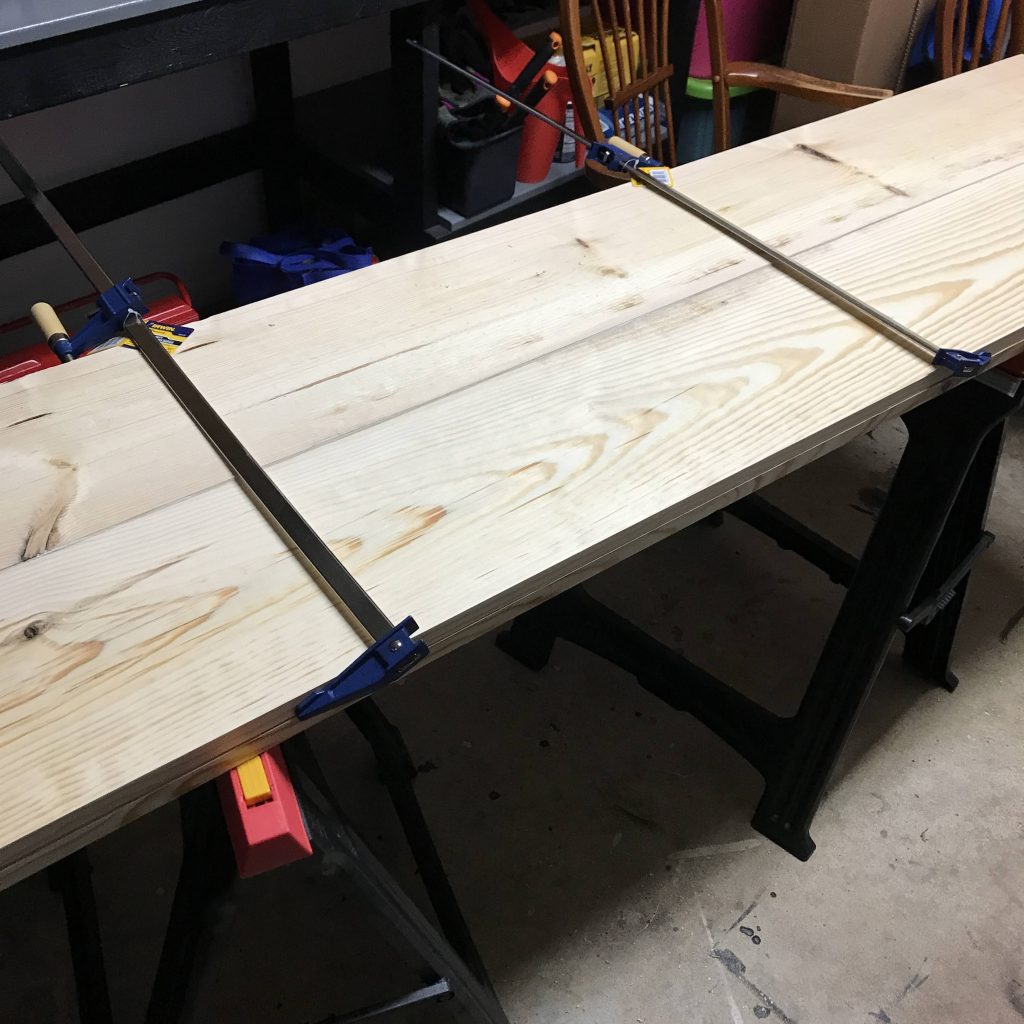
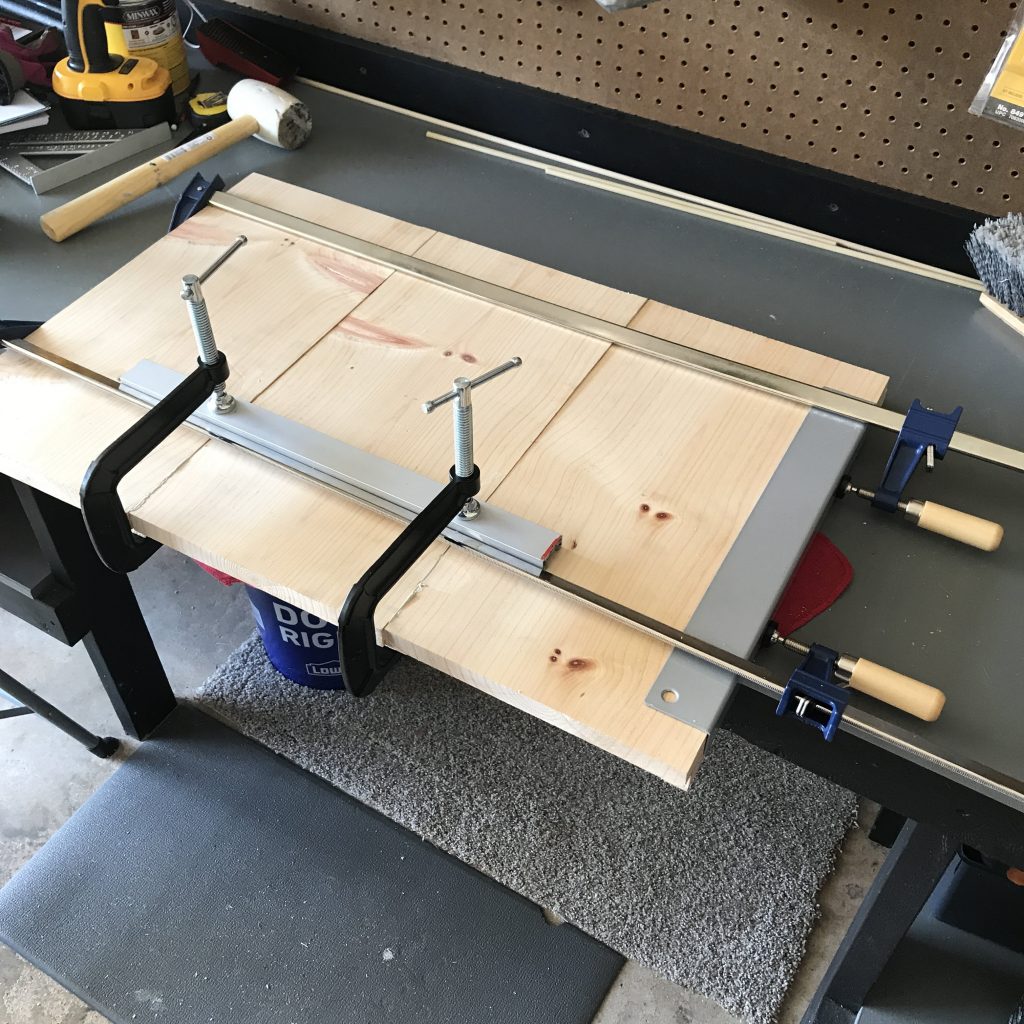
- Use bar clamps to hold together until dry
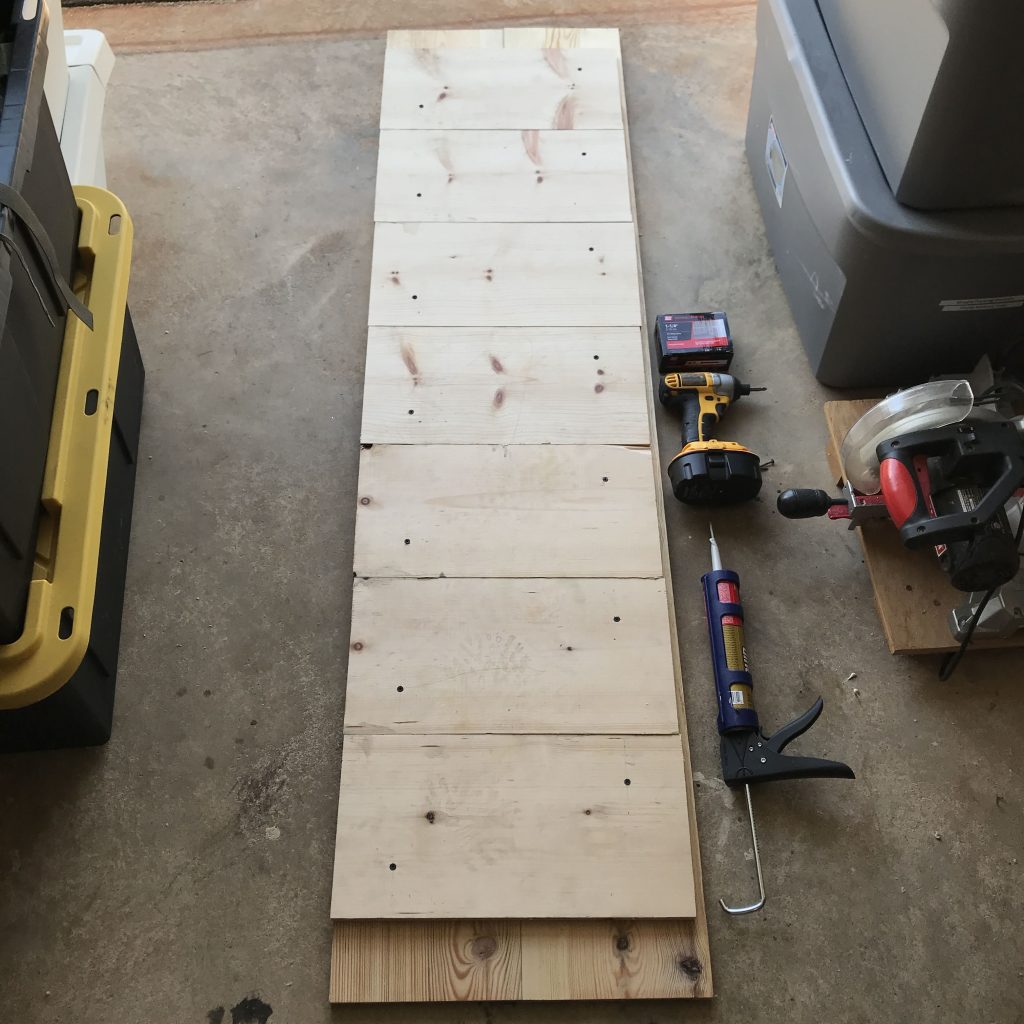
- Cut 7X underside pieces using 6″-wide planks (17 ⅞” in length)
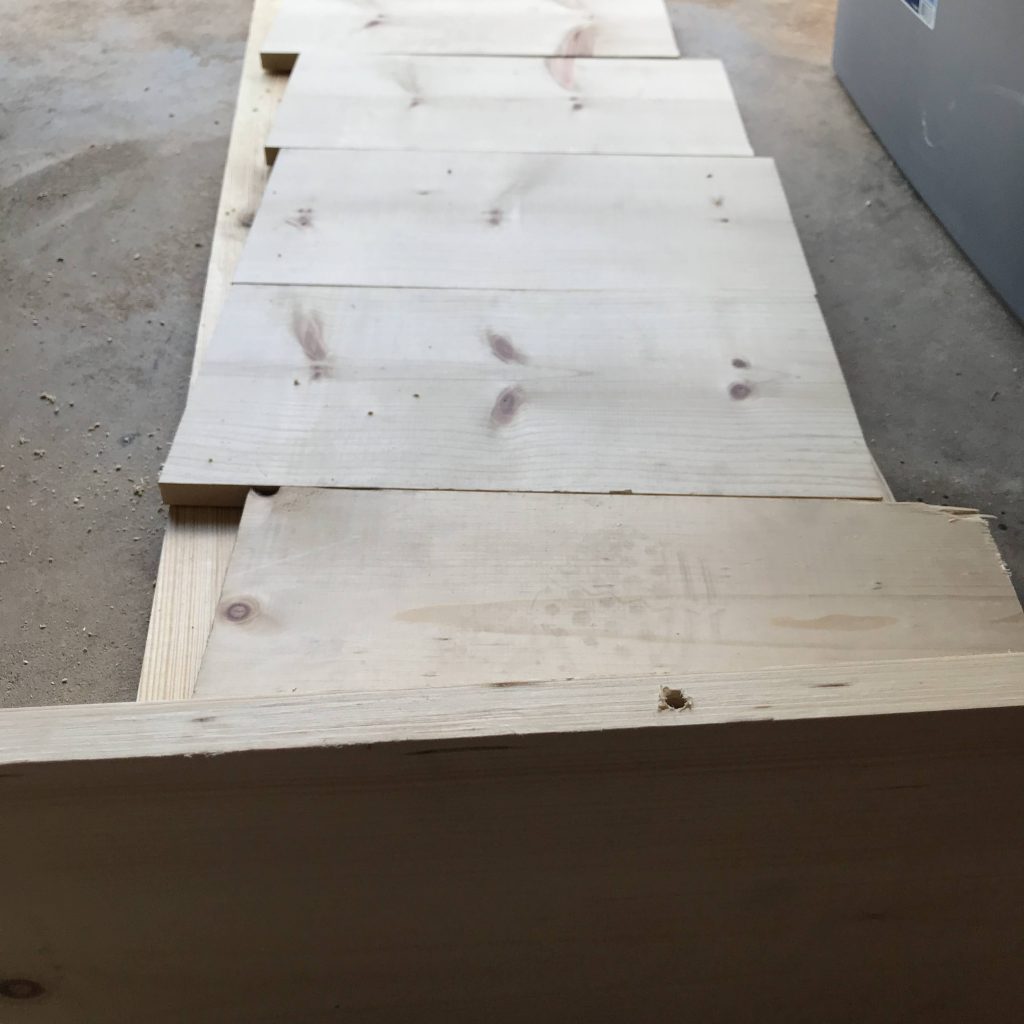
- Drill holes, insert pegs, add Liquid Nails, screw slats, and clamp to dry
Lower Shelf
- Drill 3X holes for the pegs (⌀¼”, 1”-deep hole) spaced six inches from the ends and centered
- Insert pegs, add Liquid Nails, and tap together with a rubber mallet
- Use bar clamps to hold together until dry (I stacked it on the top shelf and clamped to dry at the same time)
- Use some scrap planks as braces to reinforce the bottom shelf and screw in
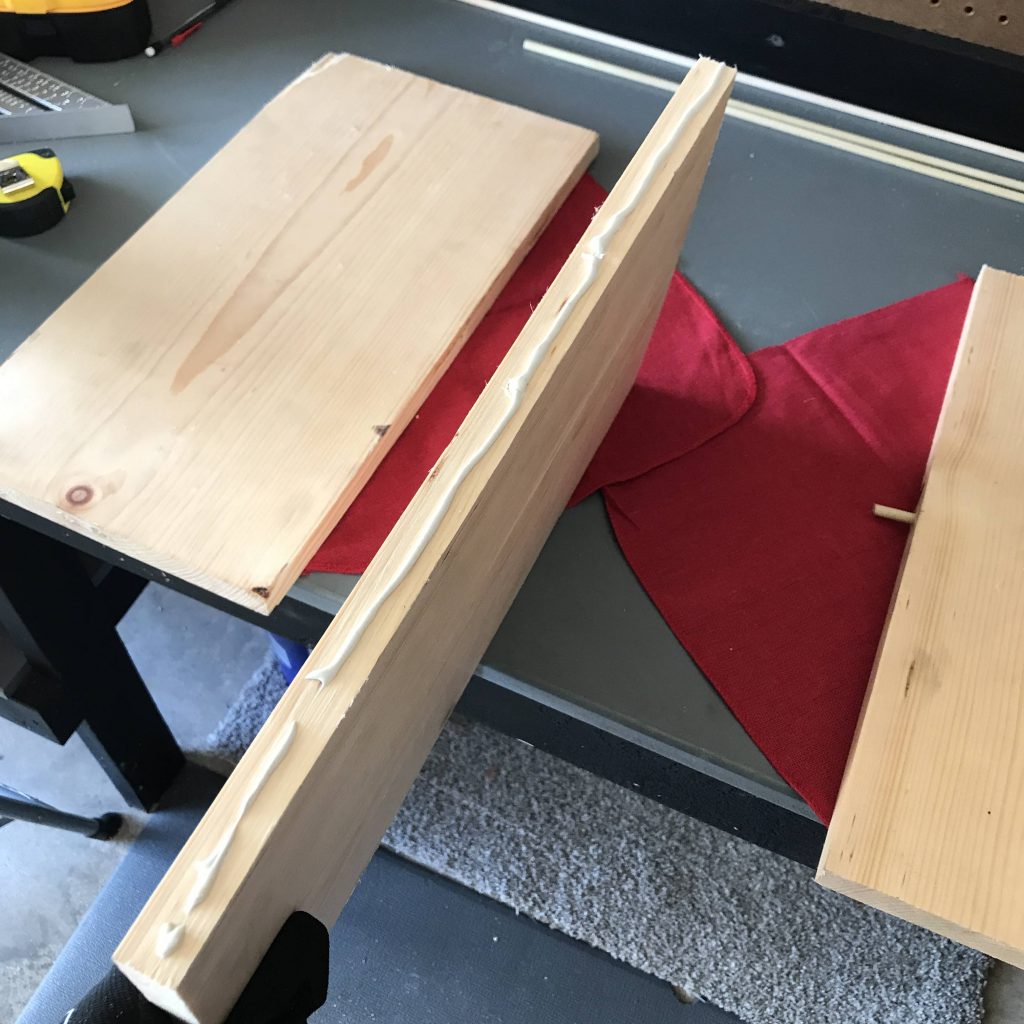
Media Shelf
- Cut two slats of 6″-wide planks to size
Note: You can do whatever you need, but mine was about 2′ long to hold a Roku, Apple TV, and a Blue-ray player.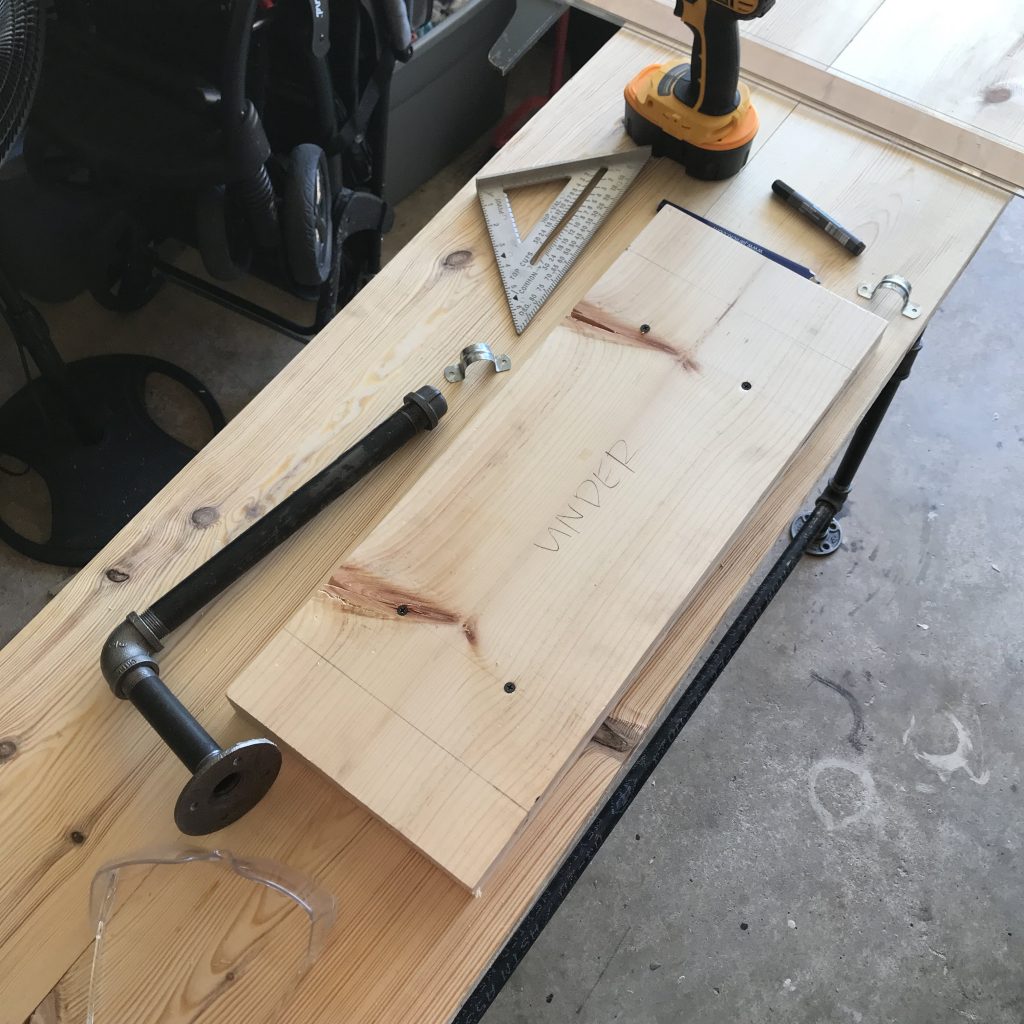
- Zigzag with Liquid Nails
- Screw together and let dry
Note: I marked my top and bottom with a lumber crayon
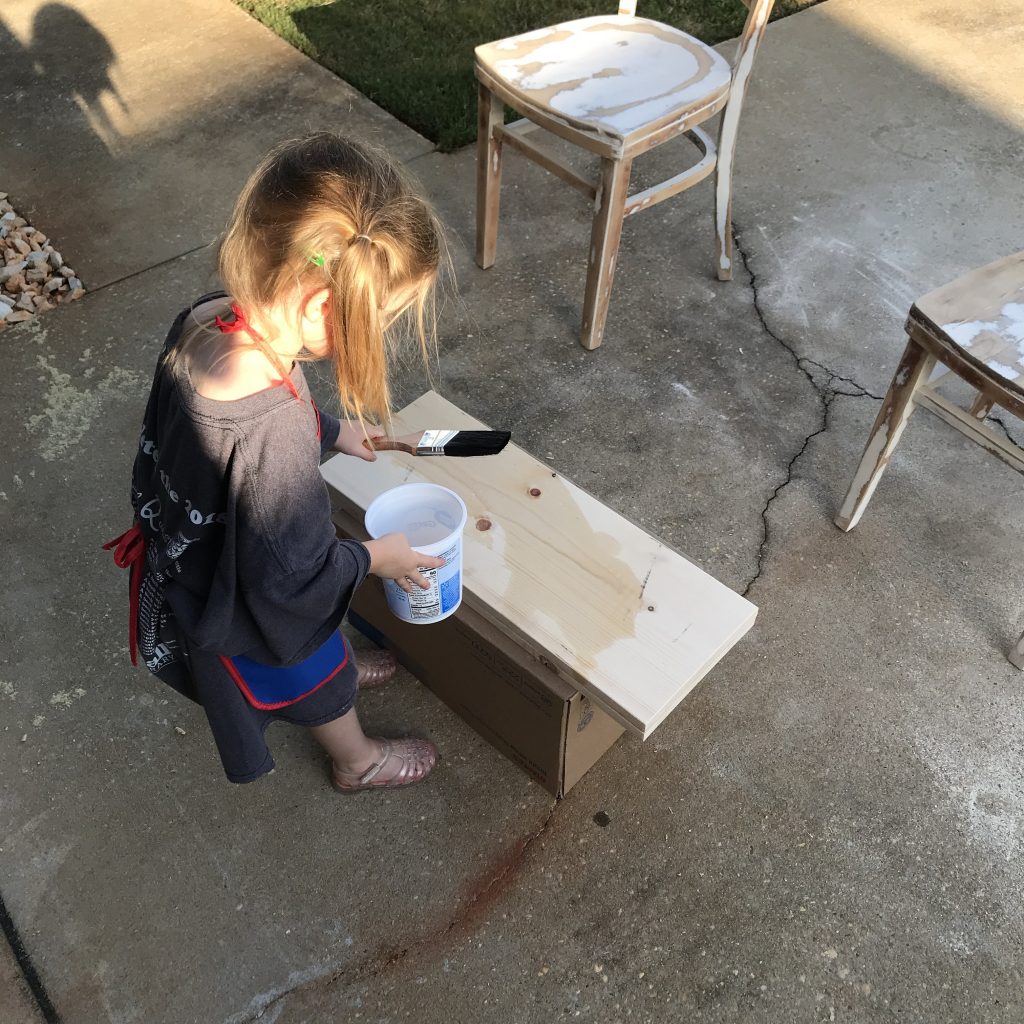
Finishing
- Sand with 60 grit sandpaper (very course)
- Clean off with a shop brush (and a wet rag if desired)
- Coat with pre-conditioner using a rag or brush
- Let dry for 15 minutes
- Stain with a brush
- Let dry
- Wipe off excess stain and apply a second coat if desired
- Apply topcoat
- Let dry for 4 hours
- Gently sand and wipe the topcoat, then apply a second layer
- Let dry for 24 hours
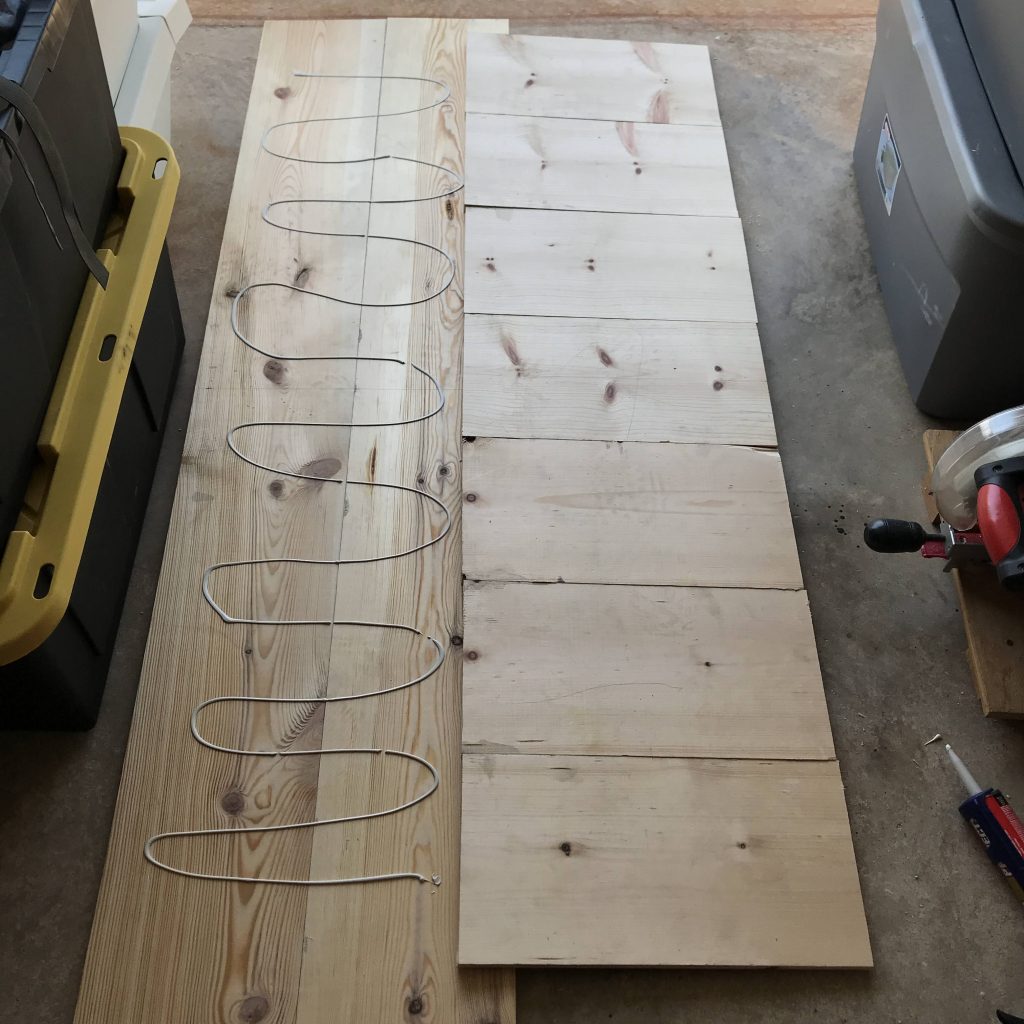
Piping
- All piping will need to be degreased
- Dilute degreaser in a bucket (see dilution chart). The degreaser does strip away some of the black material, though, so dilute appropriately based on how much you want to preserve.
- Gently rub the outer surface of each piping piece with a rag and the degreaser. You’re just trying to get the gunk off, not strip away all the black coating (unless you want it off).
- Allow to dry. I left in the sun in my driveway, and it took maybe 5 minutes to dry.
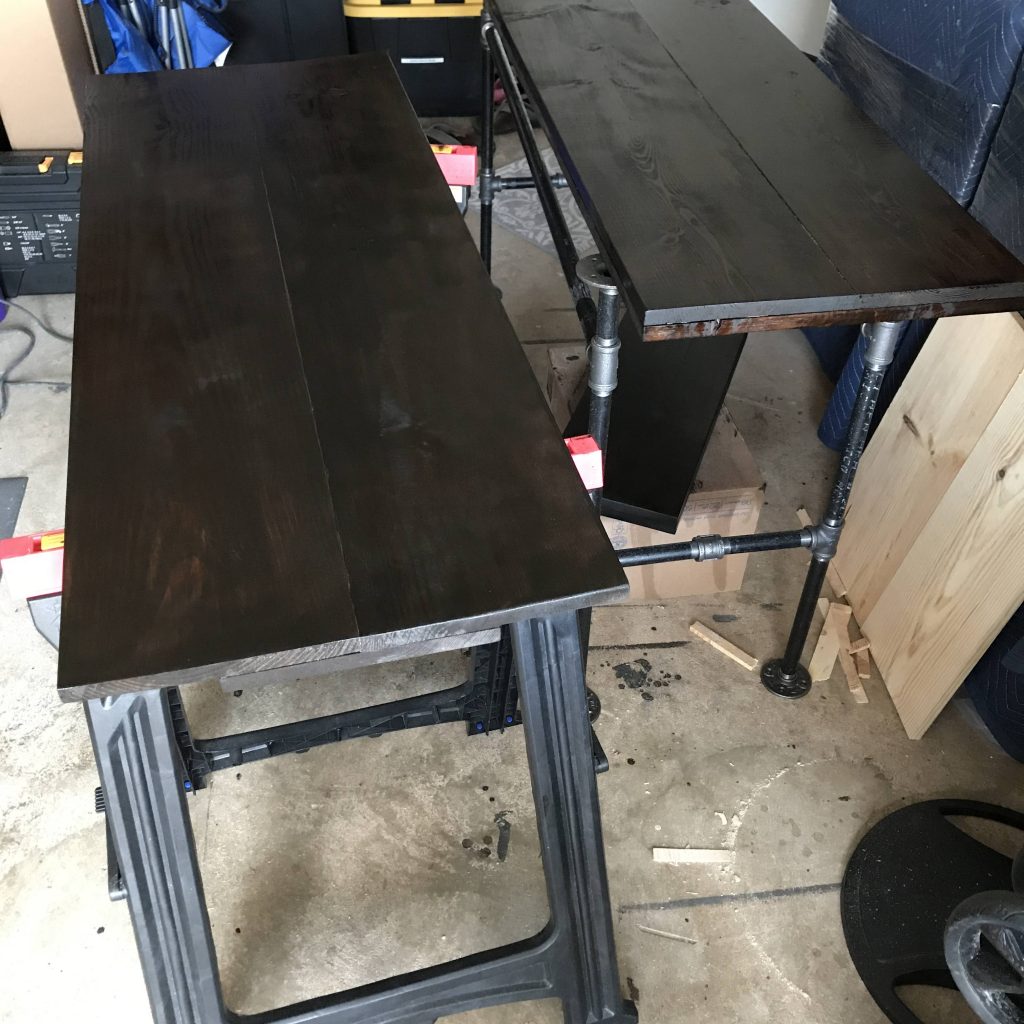
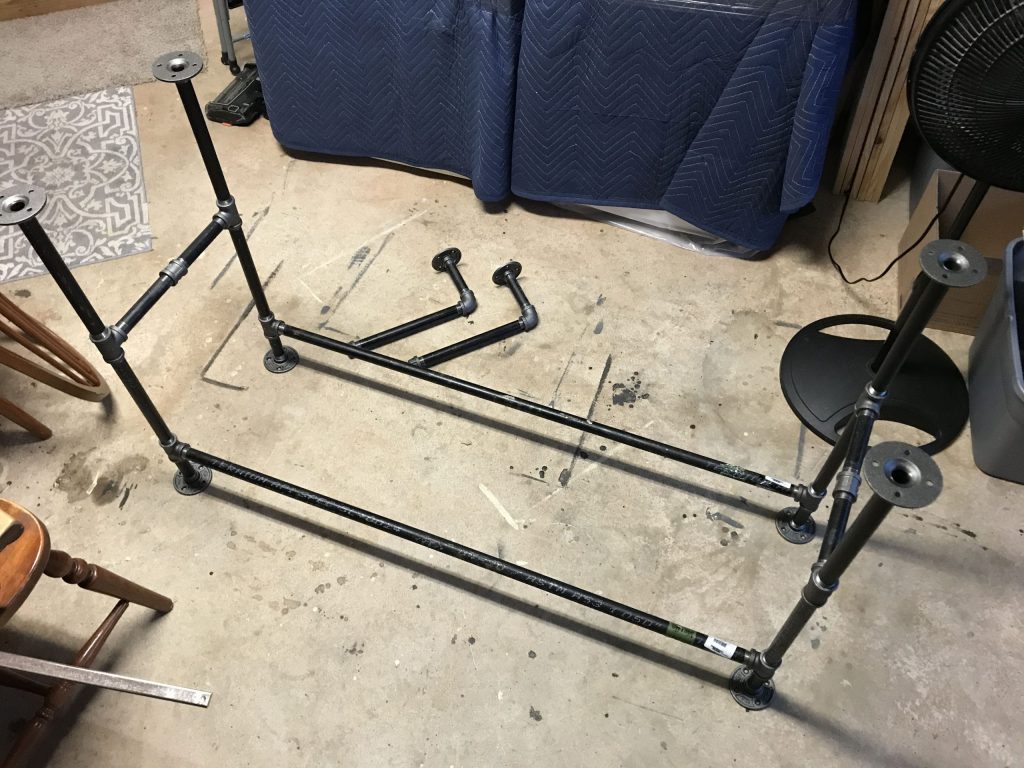
Assembly
- Screw piping for base together.
- Note from the original post: “With threaded pipe you need to keep working in a line so if you start at one point and need to tie back into that you will need a threaded union which allows you to tie two pieces together.”
- I over-tightened it through the threaded union joint (narrow portion) and then unscrewed it as I screwed it into the union. It held, albeit a little looser than I would have liked, but you screw it into the top anyways, so it ends up sturdy.
- Attach top shelf with the top-side down and the legs sticking up into the air
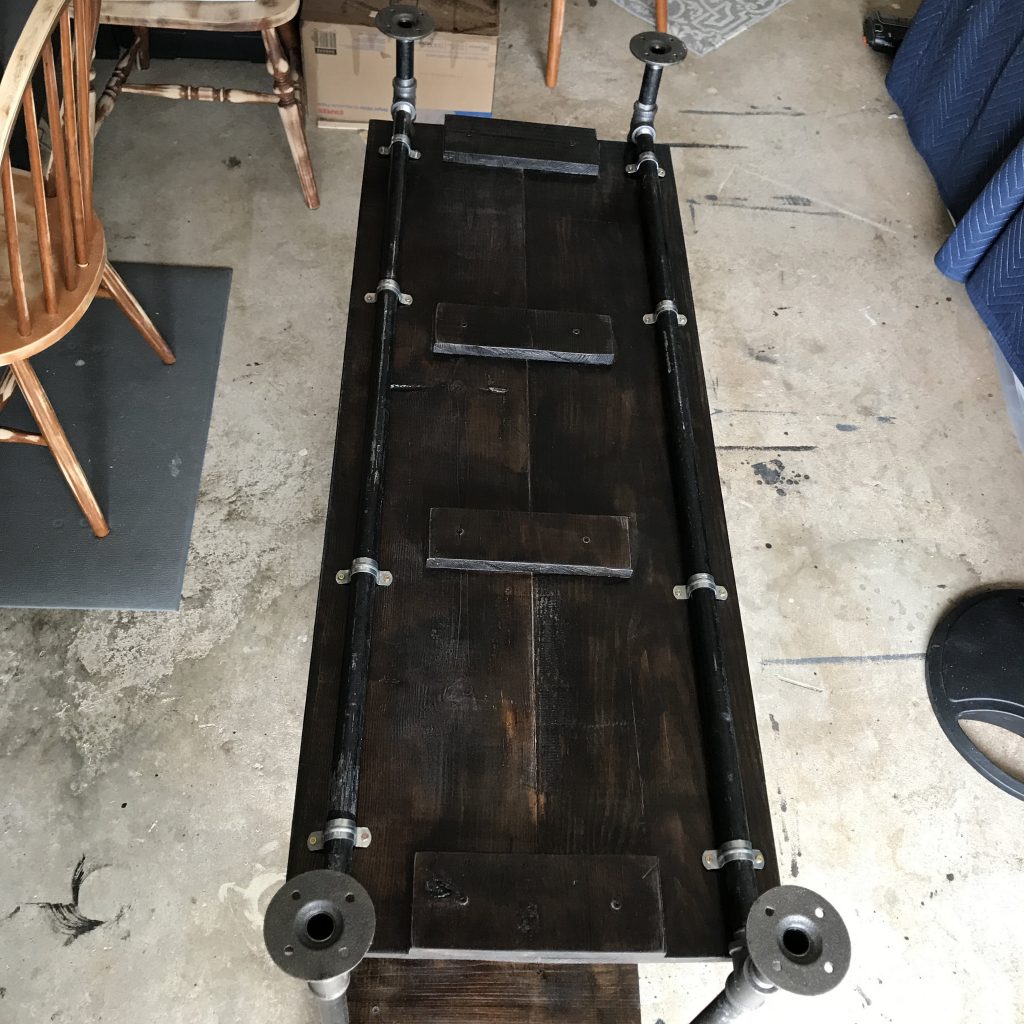
- Attach the media shelf to the underside of the top shelf
- Flip TV stand right-side-up (i.e. standing on legs) and attach the bottom shelf
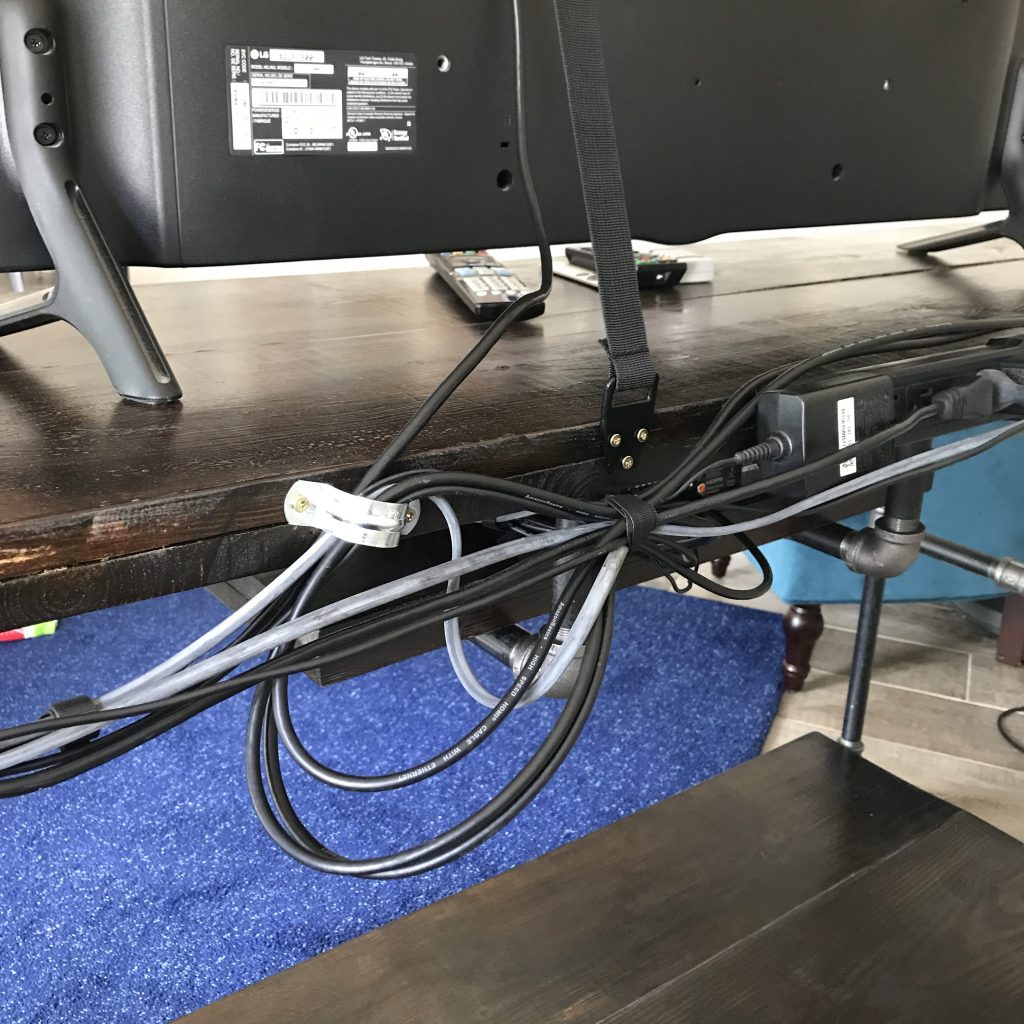
- Put a piece of paper or cardboard against the back of the power strip and punch holes to show where the mounting screws fit. Hold that against the backside of the top shelf and drill in size small screws until they’re mostly in with the head of the screw remaining. Slide the power strip on to those holes. Use a twist-tie or zip-tie to secure powerstrip cord down one of the pipe legs, hiding the cord behind the TV stand.
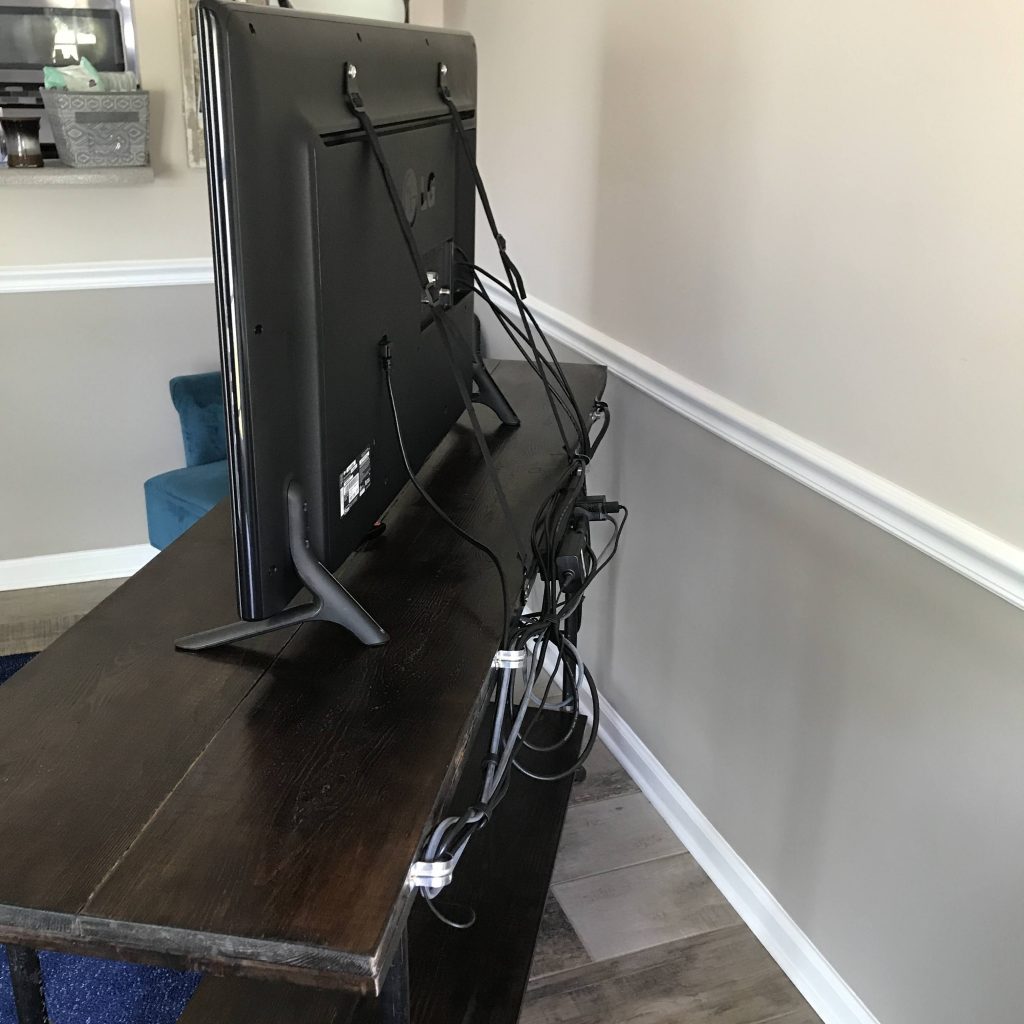
- Situate TV atop the stand and your media players (Apple TV, Roku, Xbox, etc.) on the media shelf. Hook up all the cables. Screw pipe clamps onto the backside edge to collect the cables neatly out of sight. Attach furniture straps.
~Enjoy!~
Lessons Learned
- Degreaser will take off some of the black coating. Use a less concentrated solution. I did 3:1, and that took off a decent amount, greying the black coating
- I “learned” how to use pegs. I wish I would have used more throughout, but as an experiment, they worked. Now I just need to get my hands on a biscuit joiner. 😬
- I didn’t think wiping the stain off was necessary, but because I put on a pre-conditioner, the excess just sat on top of the wood. I needed to wipe it off and apply a second coat.
- The epoxy will bubble. I just waited for the first coat to dry then applied a second coat. I should have sanded it first and ensured I put that second coat on within four hours. I waited too long, but it still turned out alright.
- Can I reuse brushes? I ended up throwing some brushes away after the stain, etc. dried on them. I talked to my dad, though, and he said to use some paint thinner.
- How do I dispose of degreaser? Mine was biodegradable, so I wasn’t too worried about it, but what if I had paint thinner to get rid of? Is there a convenient way to dispose of all these chemicals?
- I didn’t use enough Liquid Nails. It was my first time using it, so I was hesitant, but next time, do not use sparingly 🙂
- Compare/contrast using an electric sander, a hand plane, a belt sander, and an electric plane. I used an electric sander and a hand plane, but I wasn’t happy with either.
- More clamps or better clamping
- Tip from Repair Shop: put painter’s tape on a piece of wood and lay that tape side on the Liquid Nails or wood glue to keep from gluing together. Now you have a brace you can clamp down to spread that pressure across the joint
- I should have stained down into the cracks before assembling, but whatever. 🤷🏼♂️